Tired of pizza night guilt? Craving that crispy, satisfying bite but want to skip the carbs and gluten? Enter the mighty cauliflower pizza crust. This game-changing alternative has revolutionized healthy eating, offering a delicious, guilt-free way to enjoy your favorite comfort food. But let's be honest, many home cooks and even store-bought versions often fall short, resulting in a floppy, soggy mess that disappoints rather than delights. The secret to a truly spectacular cauliflower pizza crust isn't magic; it's mastering a few crucial techniques that guarantee a perfectly firm, golden, and undeniably crispy base for all your favorite toppings.
Far superior to anything you’ll pull from the freezer aisle, homemade cauliflower pizza offers a freshness and customizable health benefit that pre-packaged options simply can’t match. It’s not just a trend; it's a testament to how versatile vegetables can be, transforming into a foundation that is naturally gluten-free, grain-free, and often nut-free, making it an excellent choice for a wide array of dietary needs and preferences. Whether you’re managing Celiac disease, reducing carb intake, or simply looking to incorporate more vegetables into your diet, this crust provides an answer without sacrificing flavor. Many even find that it doesn't taste distinctly like cauliflower, especially when cooked to a beautiful crisp and enhanced with the right spices.
The Absolute Secret: Banishing Moisture for Unrivaled Crispiness
If you've ever found yourself with a soggy cauliflower pizza crust, you've likely overlooked the single most critical step: eliminating excess moisture. Cauliflower is predominantly water, and if that water isn't removed before baking, it turns into steam during the cooking process, leading to a limp, unappetizing crust. This isn't just an important step; it's the non-negotiable foundation for achieving that coveted crunch.
Why Squeezing Matters (And How to Do It Right)
Think of it this way: you're creating a dough-like consistency from a water-rich vegetable. Any residual water will prevent the crust from becoming firm and crispy. This is where a little effort goes a very long way:
- Cook First: Whether you're using a fresh head of cauliflower or frozen florets, you'll need to cook it until it's tender. Microwaving riced cauliflower for about 4-5 minutes is a popular and quick method. Steaming or boiling are also options. The goal is to soften the cauliflower so it can be easily squeezed.
- Cool Down: Once cooked, allow the cauliflower to cool significantly. Handling hot cauliflower is difficult, and more importantly, squeezing it while hot can be less effective and result in steam burns.
- The Big Squeeze: This is the moment of truth. Transfer the cooked and cooled cauliflower into a clean, thin-mesh cheesecloth, a nut milk bag, or even a very clean kitchen towel. Gather the edges and squeeze with all your might. You'll be astonished by how much liquid comes out – it can be a significant amount! The goal is to get it as dry as possible. The drier the cauliflower, the crispier your crust will be. This step requires patience and strong hands, but it’s paramount.
Even if you opt for the convenience of frozen riced cauliflower, which is often pre-riced and skips the initial cooking step, it still harbors a lot of ice crystals and water. So, even with frozen riced cauliflower, thaw it (often just by microwaving briefly) and then proceed directly to the vigorous squeezing step. Do not skip this!
Crafting Your Crispy Crust: A Step-by-Step Guide
Once you've mastered the moisture removal, the rest of the homemade cauliflower pizza process is relatively straightforward. The right balance of ingredients and proper baking techniques will ensure a sturdy, flavorful base.
Essential Ingredients for a Perfect Base:
- Cauliflower: 1 medium-large head (riced) or an equivalent amount of frozen riced cauliflower.
- Binder (Egg): 1 large egg. This is crucial for holding the crust together. For a vegan option, a "flax egg" (1 tbsp ground flaxseed mixed with 3 tbsp water, let sit for 5 minutes) can sometimes work, though it may alter the texture slightly.
- Cheeses: ¼ cup grated Parmesan cheese and ¼ cup shredded mozzarella cheese. These not only add incredible flavor but also contribute to the crust's structure and browning.
- Spices: A blend of garlic powder, onion powder, black pepper, and Italian seasoning. These are essential for masking any lingering cauliflower taste and infusing your crust with classic pizza flavor. A pinch of salt is also recommended.
Assembly and Baking Instructions:
- Prepare the Cauliflower: If using fresh cauliflower, chop it into florets and pulse in a food processor until it resembles rice. Cook as described above (microwave is fastest), then cool and, most importantly, squeeze out every drop of excess water using a cheesecloth.
- Mix the Dough: In a large bowl, combine the thoroughly squeezed cauliflower with the egg, Parmesan cheese, mozzarella cheese, and all the spices. Mix well until everything is evenly incorporated and forms a cohesive "dough."
- Form the Crust: Preheat your oven to a high temperature, typically around 400-425°F (200-220°C). Line a baking sheet or pizza pan with parchment paper. Transfer the cauliflower mixture onto the parchment paper and spread it out evenly, forming a round or rectangular crust about ¼ to ½ inch thick. Ensure the edges are slightly raised and the thickness is consistent to promote even baking.
- The All-Important Pre-Bake: This step is critical for crispiness. Bake the bare crust for 20-25 minutes, or until it’s beautifully golden brown and firm to the touch. This pre-baking process further dries out the crust and sets its structure before toppings are added.
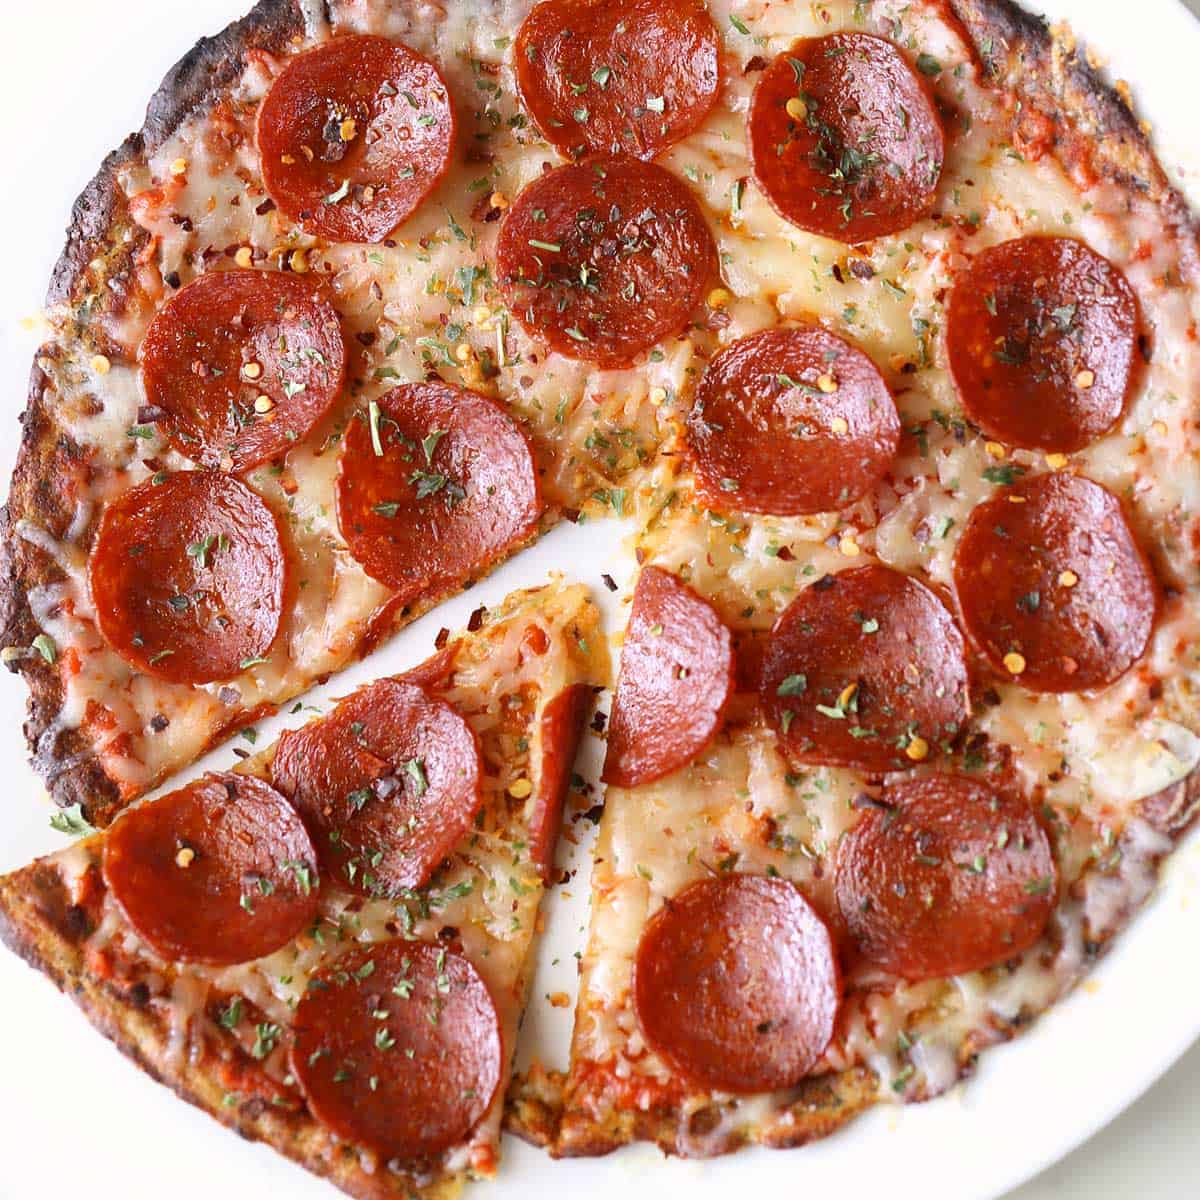
- Add Toppings & Final Bake: Remove the pre-baked crust from the oven. Add your favorite sauce and toppings sparingly. Overloading the crust with too many wet ingredients can reintroduce moisture and negate all your hard work! Return the pizza to the oven and bake for another 10-15 minutes, or until the cheese is melted and bubbly, and the crust edges are a deep golden brown.
Elevate Your Cauliflower Pizza: Advanced Tips & Customization
Once you’ve mastered the basics, there are always ways to refine your technique and customize your homemade healthy easy gluten-free cauliflower pizza crust to perfection.
- Don't Overload Toppings: As mentioned, this is a common pitfall. Heavy, watery toppings will inevitably make your crust soggy. Opt for lighter toppings or pre-cook vegetables to reduce their moisture content before adding them to the pizza.
- Hot Baking Surface: For an extra crispy bottom, preheat your baking sheet, pizza stone, or pizza steel in the oven while it preheats. Carefully slide the parchment paper with your formed crust onto the hot surface. This immediate high heat helps create a beautifully crisp base.
- Even Thickness is Key: Strive for a uniform thickness across your crust. Thicker spots will remain softer, while thinner spots might burn. An even crust ensures consistent crispness from edge to edge.
- Make Ahead & Freeze: Cauliflower pizza crusts are excellent for meal prep. After the initial pre-bake, let the crust cool completely. You can then wrap it tightly in plastic wrap and foil and freeze it for up to a month. When ready to use, simply top the frozen crust and bake as usual, adding a few extra minutes to the baking time.
- Boost the Flavor: Experiment with additional spices in your crust mixture. A pinch of smoked paprika can add depth, or a touch of nutritional yeast can enhance a cheesy flavor, especially if you're trying to reduce dairy.
- Dietary Adaptations: For a truly dairy-free or vegan crust, replace Parmesan and mozzarella with your favorite plant-based shredded cheeses. Ensure they melt well and adjust baking time if needed, as dairy-free cheeses can sometimes behave differently.
Embracing the low-carb and flavorful homemade cauliflower pizza is a journey that promises health benefits without compromising on the joy of eating pizza. With these tips, you're well on your way to crafting a crust that’s not only guilt-free but genuinely delicious and satisfyingly crisp.
Conclusion: Your Crispy Cauliflower Pizza Awaits
The journey to a truly crispy, non-soggy cauliflower pizza crust is paved with attention to detail, particularly when it comes to moisture control. By diligently squeezing out excess water, pre-baking your crust until golden, and being mindful of your toppings, you can transform a potentially disappointing dish into a healthy culinary triumph. This versatile and delicious alternative isn't just a nod to dietary needs; it's a flavorful experience in its own right, offering a guilt-free indulgence that satisfies those pizza cravings. So, gather your ingredients, follow these crucial steps, and prepare to delight in a homemade cauliflower pizza that is perfectly crisp, flavorful, and incredibly rewarding.
